Saturday, June 30, 2012

Say it in Spanish!

How about saying it in Spanish? How about using stamps so you can create  with Spanish sentiments?  Spanish stamps weren't easy to find, at least they weren't until now.  I'd like to introduce Dilo en Espanol!


This picture shows a complete set, but you can also purchase these stamps individually.  I have a few sets and even though I don't speak Spanish, I have friends who do. My daughter's Spanish teacher really enjoys receiving cards and other little paper projects with Spanish sentiments too.  


If you want to see more paper craft examples featuring Dilo en Espanol click HERE! If you need to do a little shopping, click HERE!  The store also features other products.

Elaboracion felices!

MelissaO

Friday, June 29, 2012

Home Sweet Home Mini Album

Hello!  It's Veronica here and it's my turn to post!  I just finished this adorable little 6x6 chipboard album.  This album is so colorful it makes me happy!  I paper pieced a cute "home" on the front color.  Notice I put alot of detail in the little house, from the slat walls to the curtains in the window and stone work on the chimney.

I have always liked Heidi Grace's art and I had to have this bright cheerful "One Sunny Day" collection manufactured by Colorbok.  Heidi has a whimsical style that I just love and this collection inspired me to make this cute mini.


Hope you are inspired to make something bright and cheery as I was.  Next time you make a mini album, go ahead and load up on the embellishments, flowers, brads, buttons, ribbon anything that inspires you.

Enjoy ... Happy Scrappin

Tuesday, June 26, 2012

Beach time!

There is nothing I love better than spending a day at the beach with a good book, diet coke, and sunscreen.  I decided I wanted to get you all thinking about some quiet beach time too so I created this silly beach card to share.


This card has a lot of goodies.  Kraftin' Kimmie rubber stamp is colored with Copic Markers.  Paper and stickers are by Echo Park, and rub-ons by Fancy Pants Designs.  To create this dimensional look I made a Side Step Card.  You can see in the picture below what that means.


Once I had the cardstock folded and cut I added the patterned paper, stickers, image...  To learn how to make this type of card google for a Side Step Card tutorial.  It's really much easier than it looks, believe me if I can do it you can do it too. 


I hope my card gave you good thoughts of the beach!

Happy crafting,

MelissaO

Friday, June 22, 2012

Something new


As summer began and spring ended (officially on Wednesday), I was finishing up some spring cleaning by going through my junk, stash of goodies...embellishments and leftovers that end up in a box for me to use on my scrap. The box was getting a little bit full and I was determined to purge.

I usually describe my style as "a little bit of everything".  This card is definitely a little bit of everything... it's like a "Where's Waldo". 
I spy with my little eye...a doily, a butterfly, acrylic, satin roses, a tag, pearls, eyelet, burlap, tulle, leaves, and a bird. Did I forget anything?

Earlier this week, I got to play with Fiskars' new die-cutting and letterpress machine, The Fuse. I was impressed with how easily it cut through all different material including grunge board and 10 sheets of paper at one time! People were lining up to make mini-books!

Each shape, has interchangeable design plates (I used the clock plate seen on this card) that can be inked and then ran through the machine that die-cuts and letterpresses all in one swoop!  Eventually, there will be tons of dies and designs, and large 12 inch dies to make boxes and bags.  I can't wait!


It's always fun to play with something new! 
And, who knows what you will find when you do a little cleaning?

 ~Kelly
Pin It

Thursday, June 21, 2012

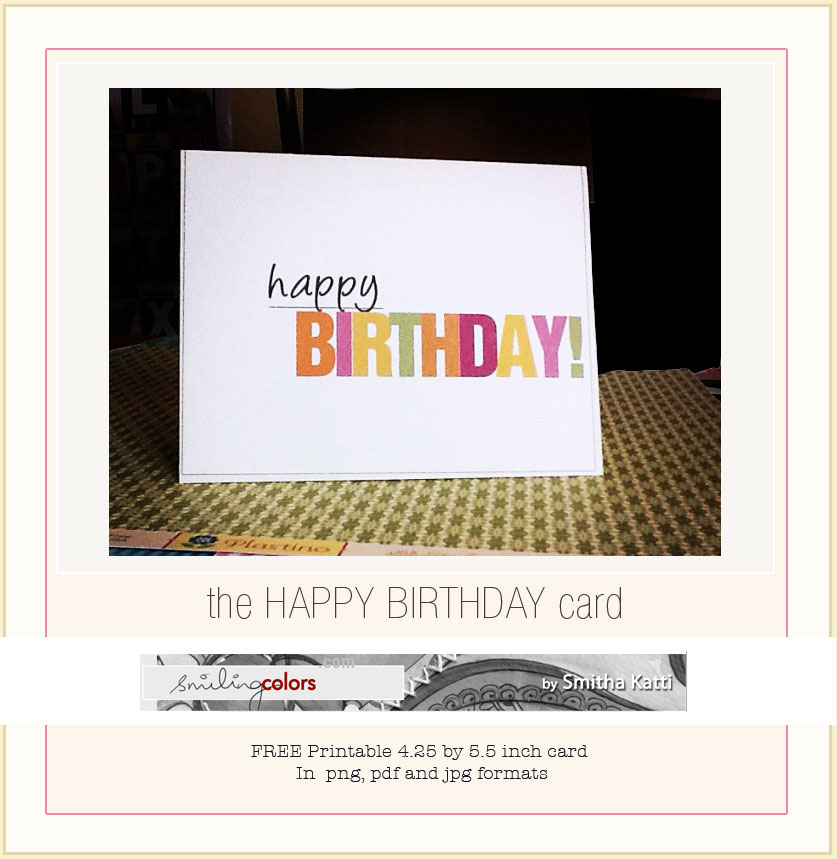
{happy birthday printable}


Hi Everyone!! 

Summer sure makes for busy days around here- the sun, the water and the fun! 

Which leaves us with little or no time to craft. 

I don't know about you, but I never remember that I need a birthday card, right until the last minute! 

So here is a FREE happy birthday printable card to help you out. 

Just print onto a 8.5 by 11 inch cardstock, trim and fold. 

Enjoy!

Tuesday, June 19, 2012

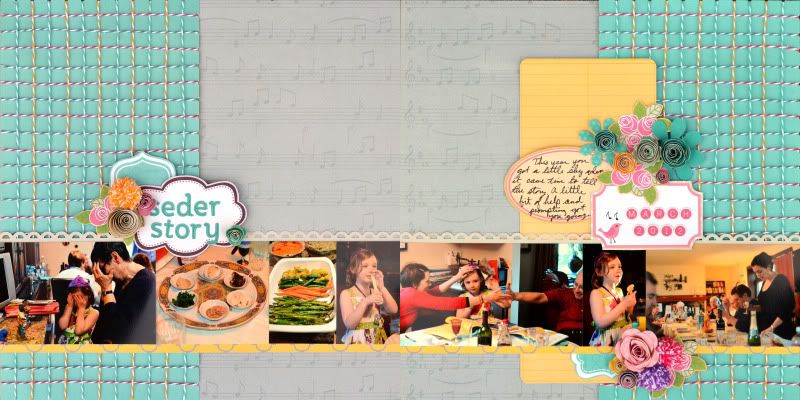
My Little Shoebox and Twinery layout

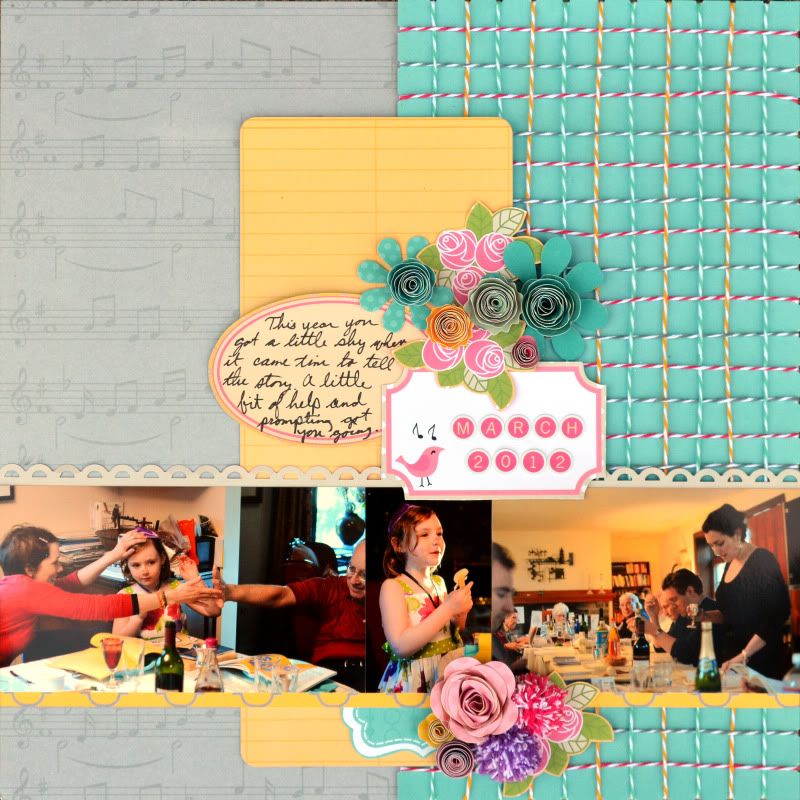
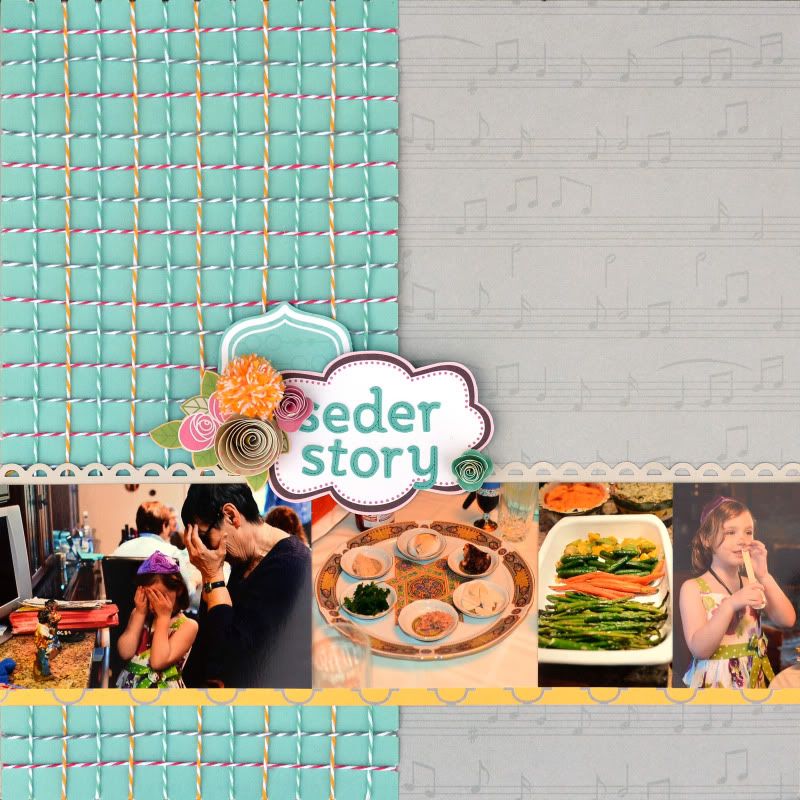
My Little Shoebox and the Twinery are doing a blog hop this week (read prizes).  I just wanted to share this layout that I created for the blog hop. I used my crop-a-dile to punch notches at half inch increments around the blue paper and then I wove pieces of twine, securing in the back. I used the Keepsake collection from My Little Shoebox. I just love the colors in this line. This page is about Passover Seder, but would work great for Easter photos too. Or any other happy kind of theme.


you can read more details on my blog. 


Monday, June 18, 2012

Wedding Day

Hi again, Veronica here and I wanted to share a layout I created.  Since my anniversary is right around the corner I have been going through my wedding pictures.  I loved my wedding, we had a great time.  I really enjoy reminiscing when going through my wedding album.  I especially love this photo of hubby and I.


I used the Trinity Paper Arts "Sincerely" collection to make this layout because I thought the colors and patterns were perfect.  I added Magenta chipboard butterflies that I distressed.


I used "frantage" mica flakes by Stampendous on the black butterfly, I embossed with "Lindy's Stamp Gang" powder for the center butterfly; and lastly I covered the 3rd butterfly with the Trinity "Dots A" paper and added some more "Lindy's Stamp Gang" embossing power.  Then I filled in the space inbetween with Petaloo flowers and Basic Grey buttons.


I used the "Noteworthy A" paper to cut out this tag, "I carry your heart with me".  I love this saying, I thought it was perfect to add to my wedding day photo.

I loved sharing my wedding pics with you today, I hope I've inspired you to try a little distressing and some different techniques to your layouts and please go check out this "Sincerely" collection by Trinity Paper Arts!

Happy Scrapping!


Sunday, June 17, 2012

Country kids and Jillibean Soup~


Hi everyone~how about some Jillibean Soup.  I know this is some old paper but it was so perfect for these pictures!!!  Two little country kids walking across the field.  They have chickens, goats, and a pony.   They even have their work boots on.


I used all the Jillibean Soup embellishments that went with the paper set.  Makes it easy to scrapbook a page doing that.  All the fuss work is done for you.  Love that!!! 
Thanks for stopping by and have a great day!!! by: Connie

Saturday, June 16, 2012

Digi Kit Freebie

Welcome to June's mid-month digital freebie! This month we have a little mini kit for you that can be used for any type of layout.

The mini is based on P'tit Studio Katia's June CAKE (Create A Kit Event) products on sale here for the next four days at only $1.50 each, and Scrap For Others friendly.


Here are a couple of layouts done using various Nature Camp Products.


You can find a wide variety of other CAKE products here with themes to suit everyone.


You can download this mini kit here until the 21st of June. 

Enjoy yourself this weekend and happy scrapping.

Tuesday, June 12, 2012

Layout with a sketch

Hello ladies, Hope everyone is enjoying their weekend. I just wanted to share a layout that I created using the June Kit by SFTIO. I love these beautiful papers by Teresa Collins with the Kraft cardstock. Doesn't it look beautiful? I think this layout is my new favorite.
If you like this layout then I have a treat for you. It's a sketch based on my layout and I'm going to share it with you so you can make it your own! Have fun creating and enjoy what is left of your weekend!

Sunday, June 10, 2012

Canvas Corp makes great flower pins!

Hi everyone~thought I would show you a quick and beautiful pin to make for your handbag or sweater.
Canvas Corp does all the hard work for you. The flowers are ready to go, just need a little embellishing!!!

I just get out all my odds and ends and cluster them in the center.  I use Helmar 450 Quick Dry glue on these.  They take no time at all to make~and so fun!!!

I gave the black one to may daughter-in-law and I'm keeping the green one.  I have a jacket that it will look great on this winter.

I'm sure I will find places for all them!!!  Check out Canvas Corp. The flowers come in so many colors and they look fabulous on caps !!! Have a great day and thanks for stopping by!!! by: Connie

Friday, June 8, 2012

Be true to you

Hello everyone, Nicole here. Today I would like to share a fun piece of art I created for my craft room. I received this fun template in my June SFTIO Kit and immediately fell in love! I had so much fun playing with canvas, templates, and paint. As far as the mess involved, it was well worth it.
First, I altered a 5"X7" piece of canvas using a stencil and some Smooch ink. I used a plain marker for the title.
After I finished painting, I let the piece sit for about an hour to dry. Once dried, I popped the glass out from a 5"X7" frame and popped the 5"X7" canvas board behind the frame.
And here is my final project. I just love how this turned out. This really was an easy project and so much fun.
  • Supplies:
  • Zutter: Bind-It-All
  • Zutter: 5"X7" Canvas Artboard
  • Other:
  • Template: Crafer's Workshop
  • Spray Ink: Smooch
  • Pearlized Accent Ink: Smooch
  • Black marker: Ranger
  • Gray marker: Creative Memories
  • Acrylic Stamp: Technique Tuesday
  • Wooden Frame: Target

Thursday, June 7, 2012

Watercoloring


This simple leafy stamp from Hampton Art was the perfect one to begin my first attempt at watercoloring with ink.


I used StazOn black ink on regular cardstock to stamp the background image. I gave my Distress Inks a squeeze (Peeled Paint and Evergreen Bough) to put a little color on the lid of the inks. With my waterbrush I just sloppily, randomly colored over the stamped image. When it was dry (with the assistance of my handy, dandy heat gun--because I'm an impatient artist), I colored some of the leaves with a Gelly Roll pen (by Sakura) in "clear star". The photos don't show the glimpses of sparkle that this adds to the card--it's really a dazzly delight!

Once I added the sticker sentiment, I was "rejoicing" that I have an original card to send to a friend who needs some happy mail.

As summer begins (last day of school/work is tomorrow), it's time to play in the water...watercolor that is!

~Kellystar

Sunday, June 3, 2012

Memoirs

Just wanted to share a mini I created on National Scrapbooking Day. I challenged myself to scrap 10 moments I don't want to forget, 10 years from now. I love these mini books by Doodlebug! They make creating a mini so easy! The album originally had holes with rings but I cut the left side of the album so that I could bind the book together with my Bind-It-All by Zutter. I know, I'm wierd but I think the album looks better with the Owire :)


  • Zutter supplies:
  • Bind-It-All
  • 3/4" Antique Brass Owires
  • Wire cutter
  • Other:
  • Transparency: Hambly Studio
  • Stickers: Creative Memories
  • Flowers: Zva Creative, Maya Road
  • Jewels: Zva Creative
  • Pen: Signo Uni-ball
  • Circle Punch: Creative Memories
  • Heart punch: Creative Memories
  • Sentimental Stamp: Catslife Press
  • Acrylic Stamp: Technique Tuesday (butterfly)
  • Chipboard album: Doodlebug
  • Chipboard hearts: Maya Road
  • Patterned Paper: Creative Memories