
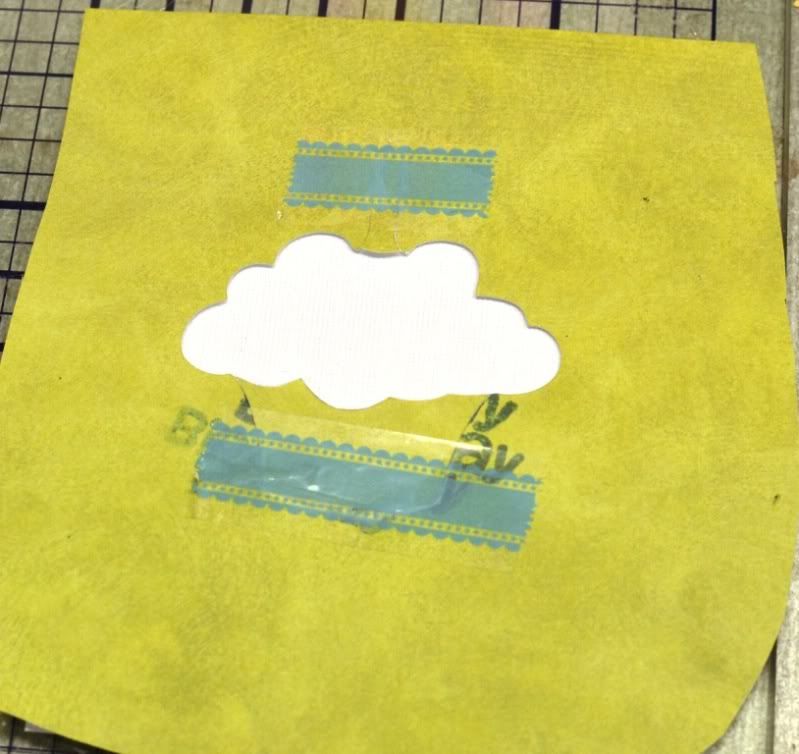
I'm sure that I'm not the first person to come up with this technique but I hadn't seen it anywhere so I thought I would share it. I used my cricut to cut a shape out from scrap paper. Then I used the negative of that shape as a mask for my stamps. Here I used sentiment stamps but you could use any stamp you like.
Here is the cut, the way that the cricut made it. I used the tag option from the Damask Decor cartridge. Because I had trouble getting the detail cuts to come out at the same size, I ended up just cutting this cupcake apart to create the sections of my mask. If you have an image with separate pieces though, it would be easier to cut the different pieces and the background and then use the layers as the parts of your mask.
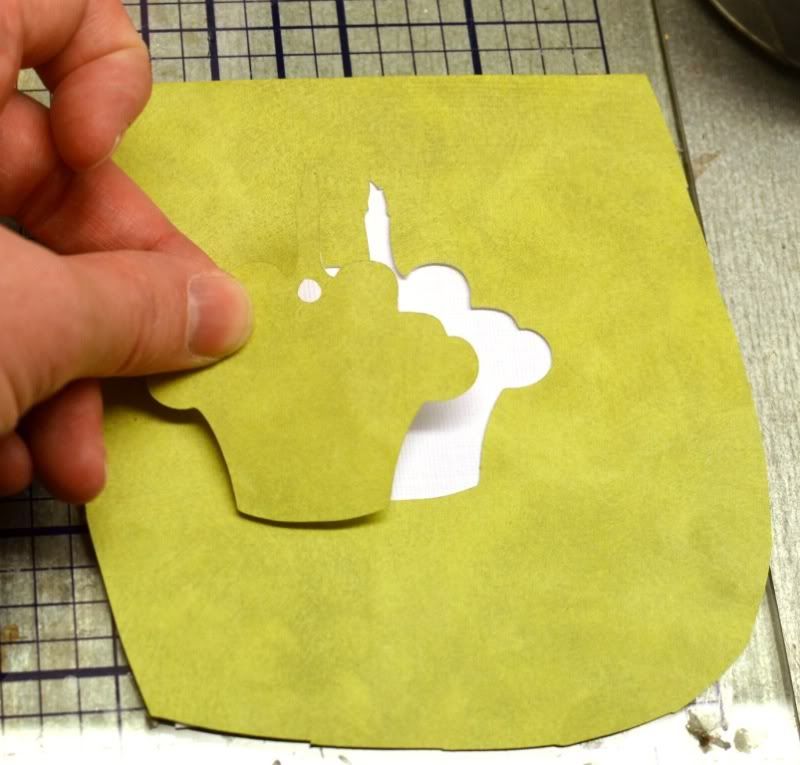
So I cut the bottom off of the cupcake so that I could stamp the bottom part in a darker ink using the 'birthday' stamp. I started with the word birthday on an angle to preserve as much of it as possible. It isn't really necessary that you be able to read the 'birthday' part, but I thought it would be a fun bonus.
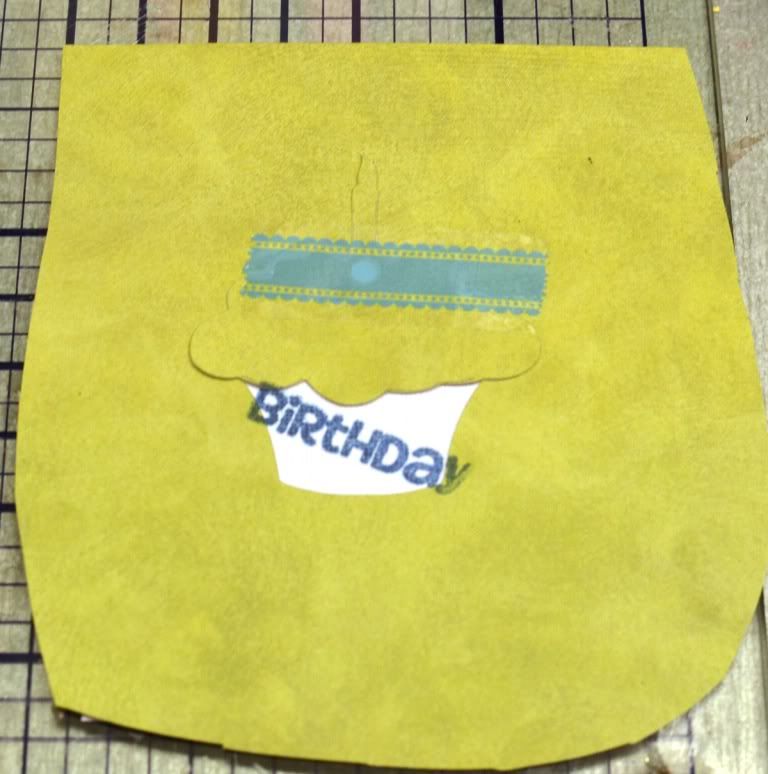
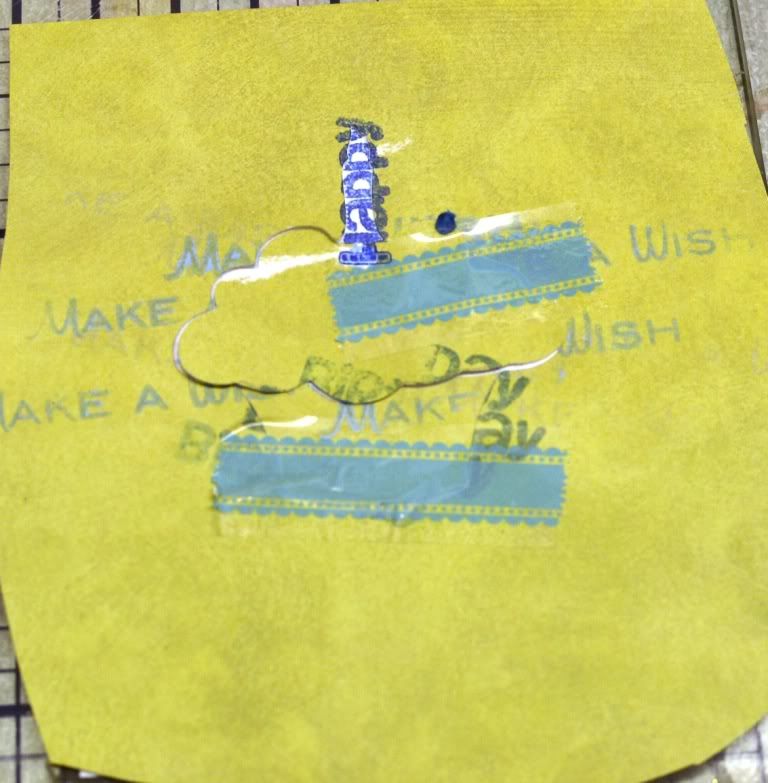
After removing all the masking, this is what it looks like. I should probably mention that the white paper, AND the green mask were both adhered to my glass mat with removeable adhesive so they didn't move at all while I was stamping.
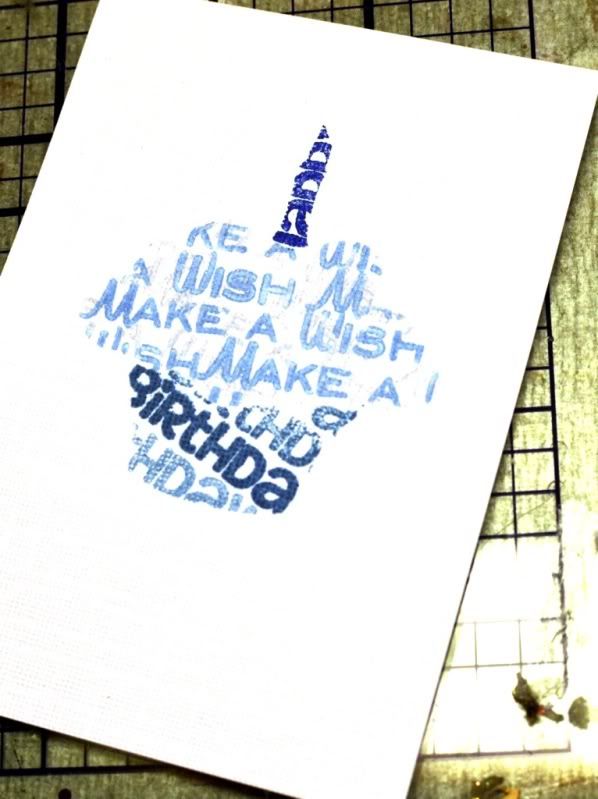
Finally I used the mask once more to trace the outline in blue pen.
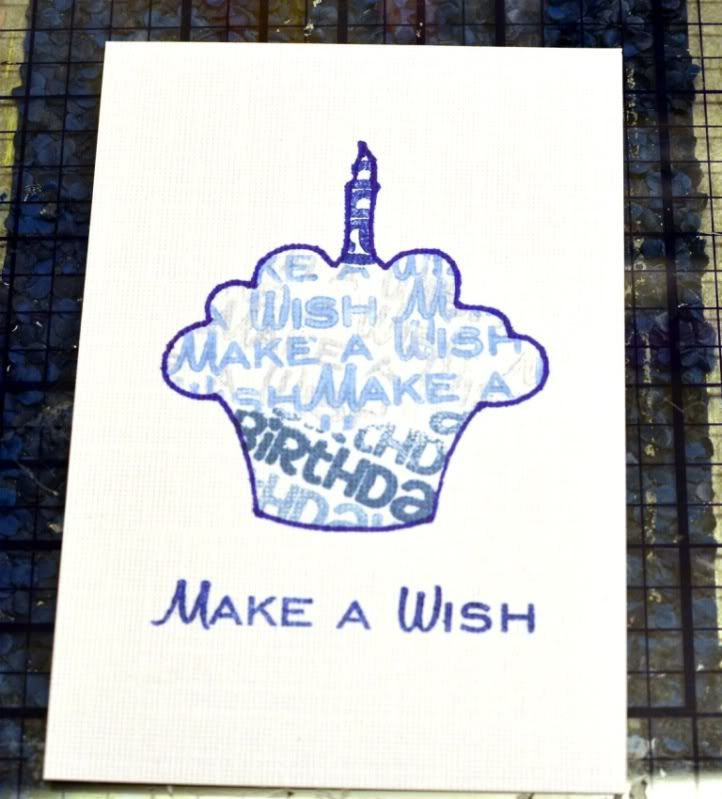
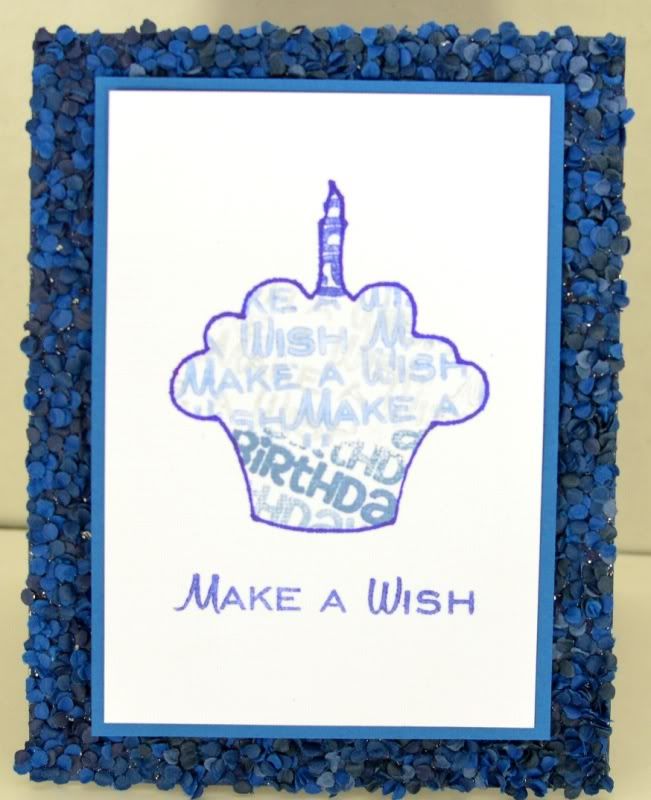
And this is what the finished card looks like
The stamps are from Joy's Life stamps.
I used 'Birthday' from the Everyday Occasions stamps, 'Happy' from the Holiday Occasions stamps and 'Make a Wish' from the 'You're So Punny' stamps.
Supply List:
Stamps: Joy's Life Holiday Occasions and Everyday Occasions
Ink: Clearsnap Cat Eye Pigment and Chalk inks
Cardstock: Bazzill and American Crafts
Tools: Cricut and Crop-a-Dile big bite
Cricut Cartridge: Damask Decor
Pen: Staedtler
Tools: Cricut and Crop-a-Dile big bite
Cricut Cartridge: Damask Decor
Pen: Staedtler


3 comments:
That looks awesome very nice card! I dont use to many stamps but this makes me want to go buy some more ink and play.
This is very cool, i have done something similar but using my spellbinders to mask it off and used just one sentiment straight across it. I may just have to give other shapes a try!!
Kristan
I'm definitely going to try this sometime. Thanks for the tip.
Julie
www.scraphappypapercrafter.com
Post a Comment