
Have you ever made an acrylic album? If not, have you wanted to? Well, I thought I would show you some past
acrylic albums that I have made. It’s
kind of tough to get a good photo of an acrylic album because after all they
are see-through. But here are some
photos of albums I have made and the many techniques you can use on acrylic.

Thought I would start off with a little Holiday spirit! The cover is a snowflake pattern while the
rest of the album is chipboard. I wanted
the cover to be festive but also to “feel” like winter; so I added a snowman
and some more snowflakes to the album.
In order to enhance the winter feel I added sparkly glitter to the
acrylic cover. I think that by adding
the glitter to the cover it makes the whole album look frosty.

Here is another album with an acrylic cover. On this album I wanted to soften the edges of
the “present” to bring the eye to the title.
So I added white paint and sponged it on.

One thing you have to be careful of when using acrylic is to
remember it is see through. So whatever
you have on the front – you will be able to see from the back. In this case If I had not put a strip of
cardstock with poinsettia’s on the back of the front page – you would have seen
the back of the “jolly” title from the front, and that would not be pretty.

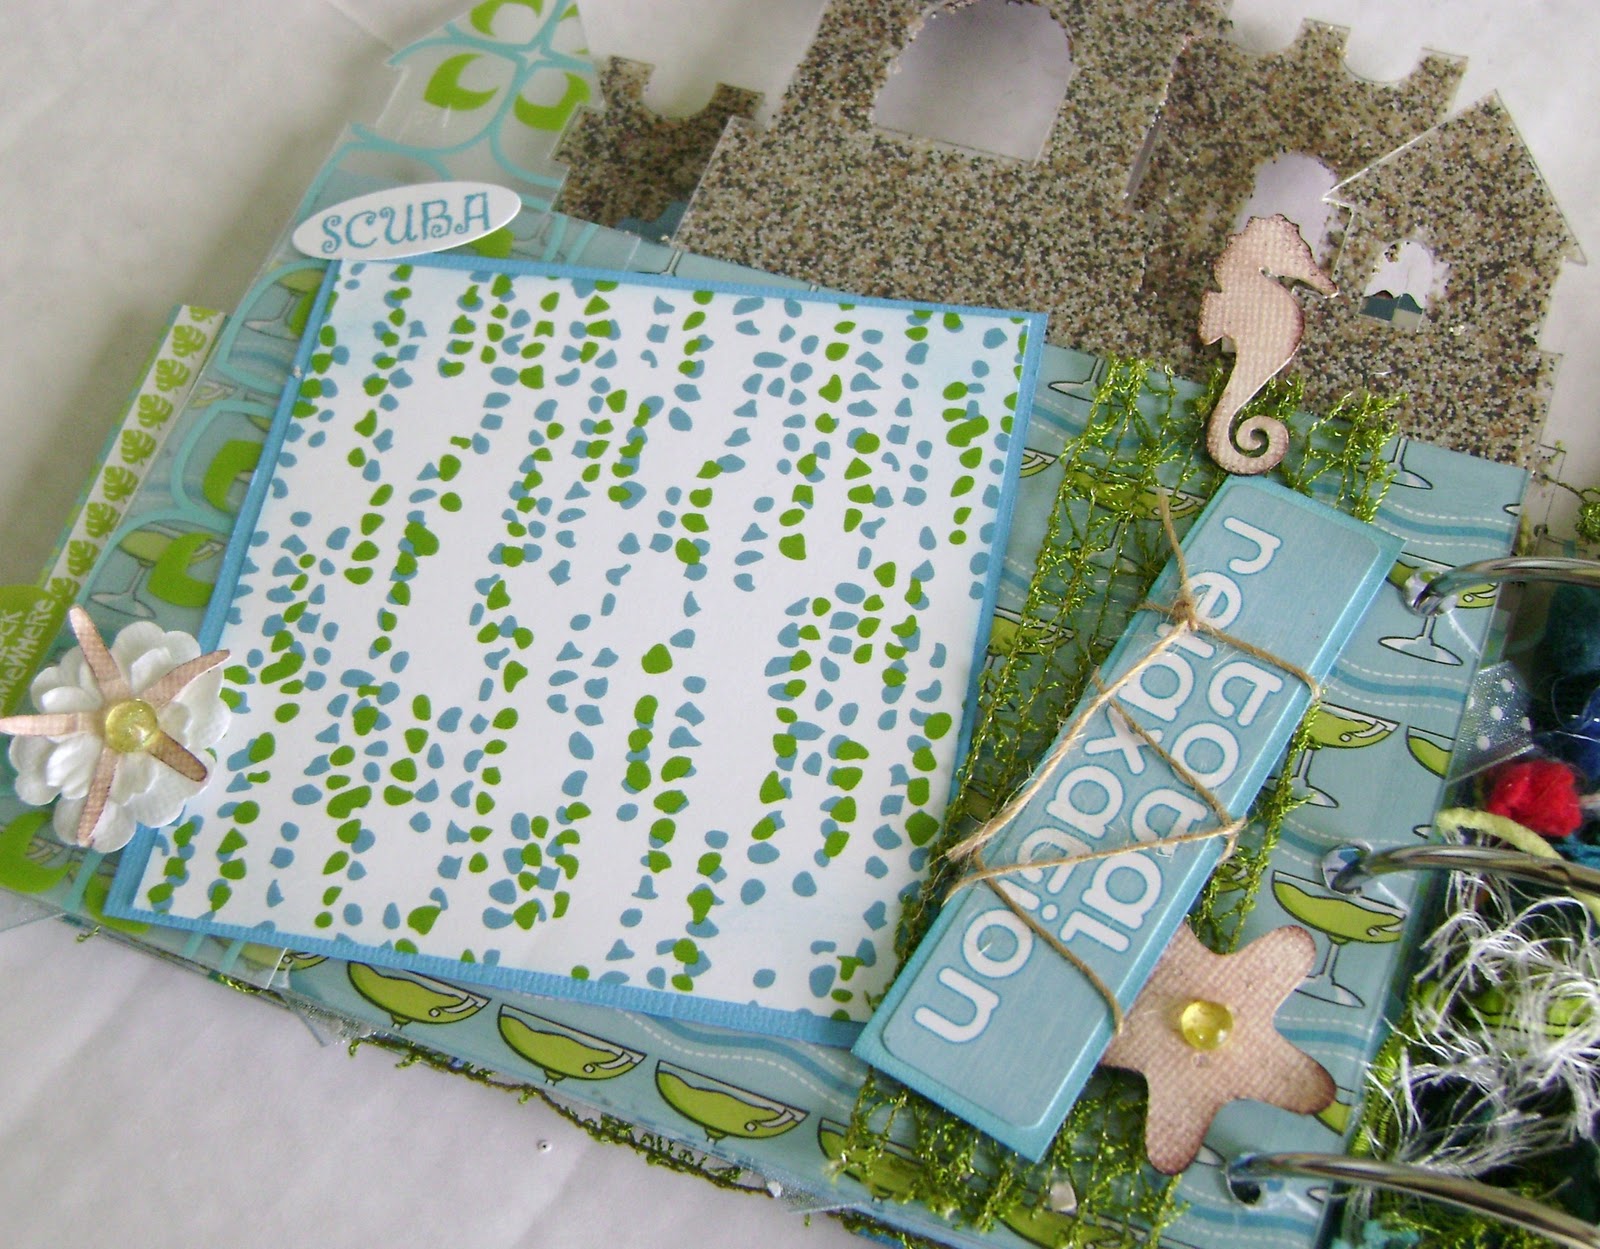
Now in my beach album example the whole album was acrylic so
I had to be careful with each page. I
wanted cohesiveness throughout the album and keep up with the beach theme. In this example I used sand that came in a bottle
and mixed in with glue. The sand was great to use because all you see is sand
on the back of the acrylic page showing through. In this sample I also used transparencies to
cover some of the pages.
In my last example I wanted to emphasize to think outside
the box. No one said there were rules
about what you can put on your album. In
this case I used a wood miniature window frame and a metal door handle. I also stamped with stazon and used rub-ons.

The albums that I used above are from Clearscraps and MyLittle Yellow Bicycle. There are lots of
choices as to the shape of your album - so get started and start playing with acrylic. If you want to ease into it, just start off
with an acrylic cover.
Happy Scrappin.


