Showing posts with label Tim Holtz. Show all posts

Friday, October 26, 2012

Something a little scary


For this Halloween project, I decided to make something a little scary for you! It was just a little scary for me too...I had never made a home decor collage project. Although, all scrapbook pages are sort of a collage, and I've made banners, this was different for me. Lots of steps and layers were a bit intimidating, and I placed and re-placed and positioned and re-positioned all of the elements a zillion times before I started gluing. I started by arranging (and re-arranging) an assortment of Halloween stamps onto my Fiskars stamp press as seen below.


Then, I stamped randomly on some white tissue paper using black Stazon ink.


I glued the tissue onto a thick piece of cardstock and then, I started inking with Tim Holtz Distress Inks and Stain...more randomness


I started punching and cutting...I spy with my little eye Fiskars Grandma's Doily, a small cloud (as clouds and ghosts), and a small bare tree.  I used my Fiskars Ultra Shape Xpress to cut the large tree from the Fiskars Woodland Tree Template.   And, I also used a Martha Stewart fence border punch as well as letters cut from a Sizzix Alpha die. The checkerboard-like, flocked paper for the tree is from My Mind's Eye.


Then the arranging and layer began (that part lasted a long time). Finally gluing.


This weekend, I'm participating in the 3rd Annual Fiskateers ORANGE Blog Hop! For more info about Fiskateers, and the blog hop, you can go to www.fiskateers.com/


Monday, October 8, 2012

Leaves captured


The leaves have changed from green into their vibrant autumn colors...and now they are dropping...quickly.

So, I thought I better quick make some cards to celebrate and capture this ever-changing season. Used my new Tim Holtz "blueprint" stamp of an oak leaf for the background and then added several colors and some clear embossing powder to highlight and pop the one on the corner. A few punches of my "Oakey Dokey" Fiskars squeeze punch and bonus points for digging out the sewing machine too!  This was how I celebrated "World Card-Making Day" on Saturday. How did you participate?

Hope you get some time this week to "sit and watch the leaves turn". This season will be over before you know it.


Pin It

Thursday, August 16, 2012

a watercolor experiment

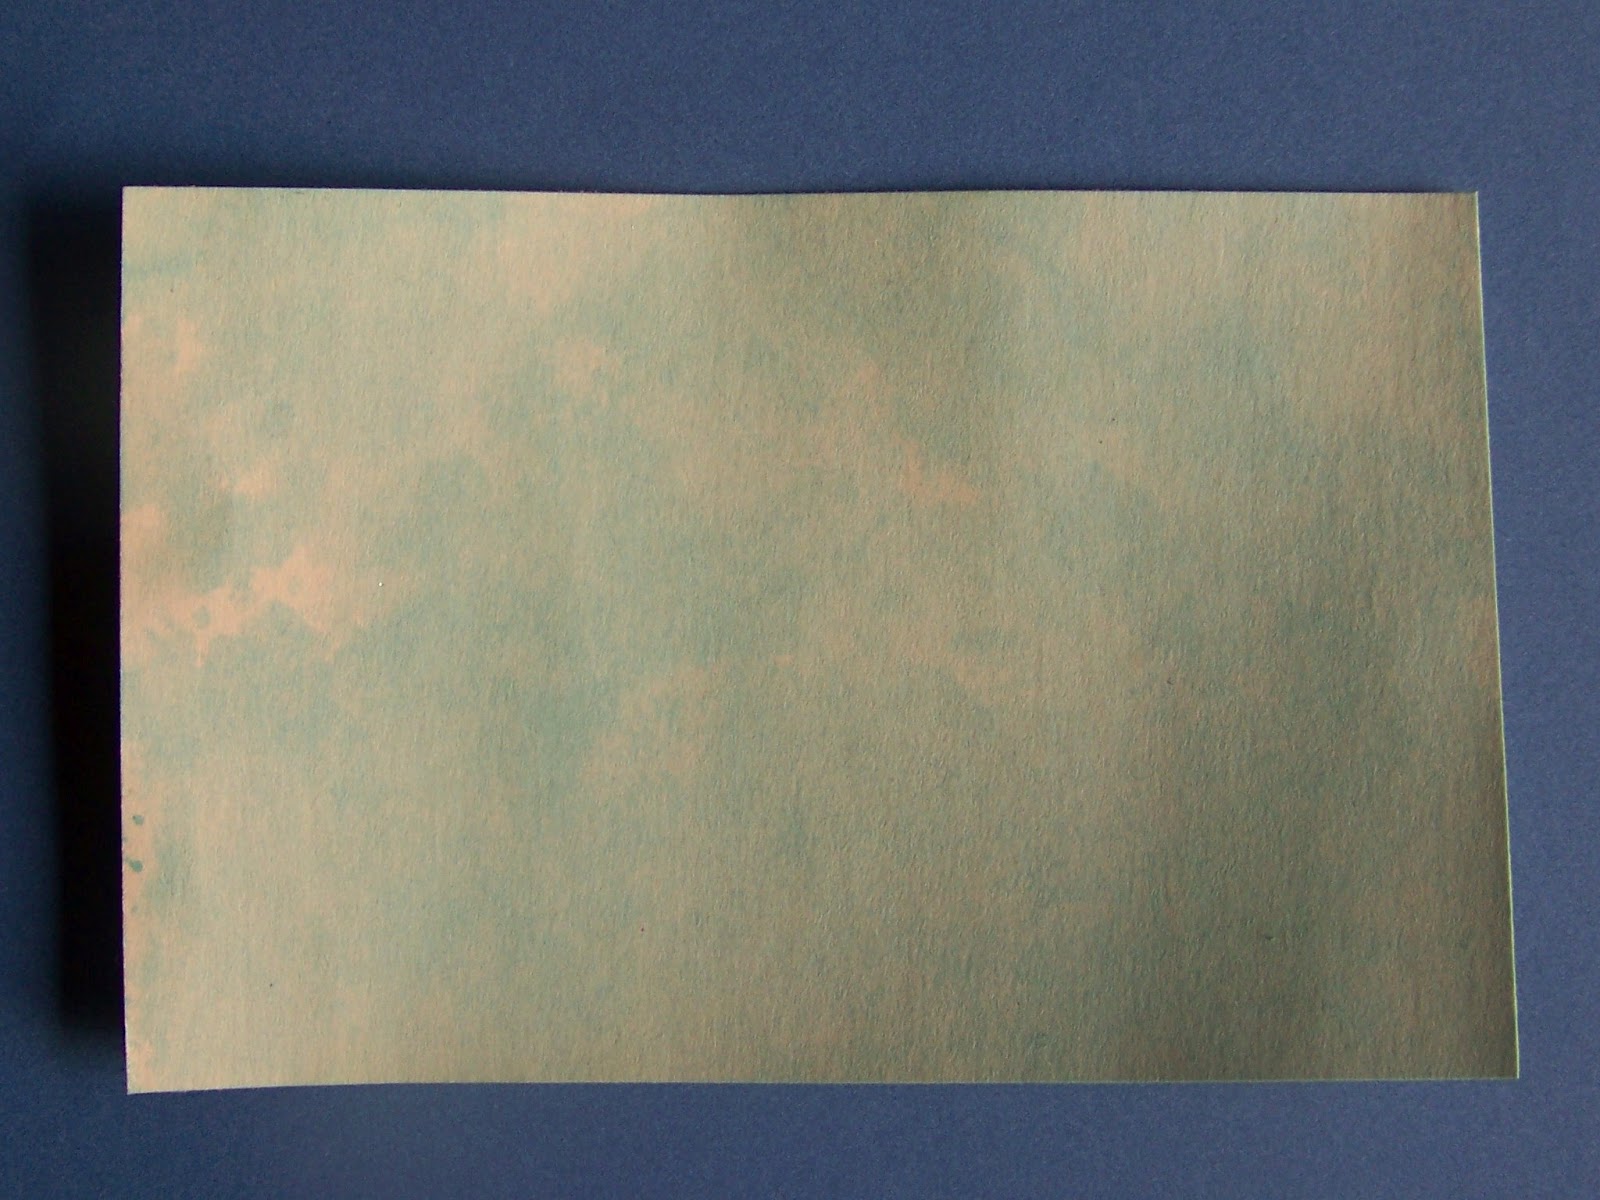
Longing for my days doing experiments in the college chemistry lab (NOT), I decided to do a little experiment with distress stains. Using my non-stick craft sheet from Ranger, Tim Holtz Distress Stain (Tumbled Glass), 5 manilla tags, 1 sheet of photo paper, and some water, I set out to find out what is my favorite method for getting a watercolor effect.

Experiment #1:
-wipe distress stain on the mat
-spritz stain and mat with water
-also spritz the paper with water
-slide paper over the mat
Result: very pale coloring, because the paper is manilla, this one has almost a yellow/green tinge to its aqua color


--------------------------------------------------------------------------------------------------

Experiment #2:
-wipe distress stain on the mat
-spritz just the paper with water
-slide paper over the mat
Result: a mottled, imperfect soft water color effect, pretty


------------------------------------------------------------------------------------------


Experiment #3:
-wipe distress stain over the paper
-spritz water on the paper
Result: Slightly more intense color than #2, but doesn't have the mottled effect, less variance in shades over the card, but still pretty


----------------------------------------------------------------------------------------------
Experiment #4:
-wipe distress stain on the mat
-spritz mat with water
-wipe glossy sheet of photo paper over the mat
Result: splotchy swipes and dots of color, color more true to the stain color since paper base is white (versus manilla) (must have had a little bit of leftover green on the mat--oops)


---------------------------------------------------------------------------------


Experiment #5:
-Wipe the whole tag with stain
-Starting 3/4" inch from the top, wipe this bottom part of the tag again with stain
-Keep repeating the process moving down 3/4" inch after each layer
Result: an ombre effect that is very "in" right now. However, the bottom part of the tag (the part that recieved the most "swipes" was starting to pill and disintegrate)


------------------------------------------------------------------------------------------------
Experiment #6:
-wipe distress stain on the mat
-spritz mat with water
-wipe manilla tag over the mat
Result: similar mottled effect to #2, but without the visible swipe lines


So, do I have a favorite? No, I like them all! It's helpful to see what effect each method produces though. Using Fiskars circle and cloud squeeze punches, Sizzix embossing plates, ribbon scraps, some twine, and a cute printed sentiment, I turned these experiments into tags--perfect for attaching a gift card to the back. I like experiments. Not enough to go back to college chemistry though.

So, did you see my submission call for watercolor projects in the July issue of Scrapstreet ? You can check it out here.
No matter what method you use to achieve a watercolor effect (paint, stain, mists, watercolors, or something else), I'd love to see it! The deadline is August 19th.


Pin It


Wednesday, October 26, 2011

Show me your splatter!


Show me your splatter!
Show me your drips!
Show me your misty mess!
Impress me with your blobs!

Why?
I want to know how you can be inspired by art. Specifically, the work of abstract, expressionist, Jackson Pollock. He is famous for his techinque of pouring and dripping paint onto a canvas he had placed on the floor. Now, I'm not saying you need to put your card or layout on the floor (klutz that I am, I would have it all over the carpet), but let me see your take on this technique.

A quick internet search of Jackson Pollock will introduce you to his work and get you thinking. It worked for me...

Did you know that Distress Stains make great splats?


I splatted my cardstock with 3 different shades of Tim Holtz' Distress Stains, and then spritzed with water. I let it dry, and added these simple embellishments (a ribbon scrap, "celebrate", and a chipboard "u" that I "bling-ed" with gold glitter).


(inside: cuz baby you're a firework! Have a fabulous birthday!)

So, you've been inspired...what do you do now?

Submit your creation to Scrapstreet Magazine for my submission call. Graffiti, is a feature in each issue of Scrapstreet (actually, it will be a feature of Scrapstreet, this is my first request). I'll be highlighting a different artist or technique in each issue, and then asking you to show me how the artists can influence your scrappy creations. So, go! Now! I'm waiting....create, and then show me your splatter! Send it to submissions@scrapstreet.com. The deadline is midnight, October 30th. Please keep the image size around 600x600 pixels.

And, yes...your creation is good enough to be seen by others.

~Kelly